How to Clean Your Violin Safely

Rosin dust looks harmless, but it can become stubborn fast. Mix it with warmth, sweat, and humidity, and it can cling to the strings, fingerboard, and varnished top of a violin. The good news is that most day-to-day violin cleaning needs only a soft cloth and careful hands.
The safest rule is simple: dry cleaning first, no household cleaners, and stop before you force anything. Violin varnish is much thinner and more delicate than the finish on a table or guitar. Alcohol, ammonia, furniture polish, and even too much water can leave permanent marks.
This guide explains how to clean a violin safely at home, what to avoid, and when the job belongs to a luthier.
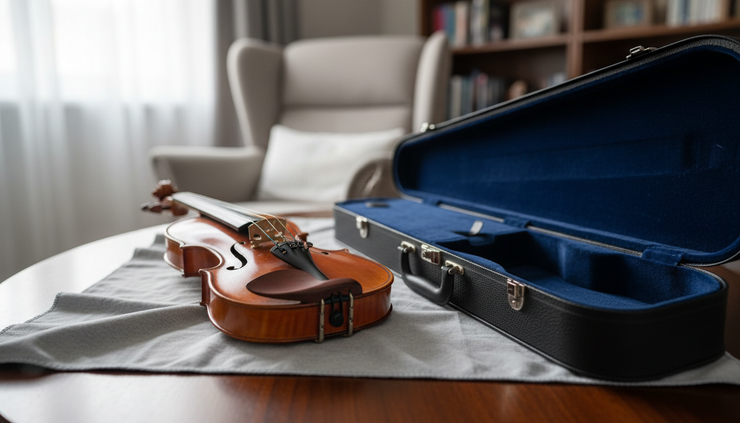
Gather the right cleaning supplies before you start
A safe setup prevents most cleaning mistakes. Put the violin on a stable table covered with a clean towel or cotton cloth. This protects the back from scratches and keeps the instrument from sliding.
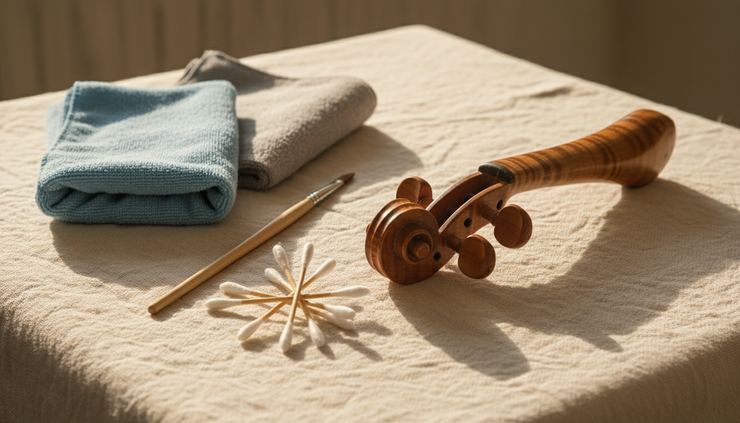
Use these supplies:
Two clean microfibre cloths
One for strings and rosin dust. One for the varnished body.
A soft, dry artist brush or clean make-up brush
Useful for dust near the bridge, tailpiece, and scroll.
Cotton buds
Only for careful dry cleaning around fittings. Do not push them into the f-holes.
A small bowl of clean water
Use this only if needed for removable fittings such as the chin rest, and only with a barely damp cloth.
Good light
Natural light makes rosin dust, cloudy patches, and scratches easier to see.
Do not use these on the violin body:
Alcohol or hand sanitiser
Household surface cleaner
Glass cleaner
Furniture polish
Essential oils
Abrasive cloths or paper towels
Commercial guitar polish unless a luthier confirms it is safe for violin varnish
Most violin makers and repairers give the same care advice because violin varnish is sensitive to solvents. Many instruments, especially older or handmade ones, have spirit or oil varnishes that can soften, smear, or turn cloudy when exposed to alcohol. Once varnish is damaged, it usually needs professional touch-up, not home repair.
Check the violin before cleaning
Before wiping anything, look over the instrument for damage. Cleaning can make small problems worse if they go unnoticed.
Check for:
Open seams along the edge of the body
Cracks in the top, back, or ribs
A bridge leaning towards the fingerboard
Loose fine tuners
A chin rest that moves
Sticky, thick rosin build-up that does not lift with a dry cloth
If the violin has an open crack, do not clean across it. Rosin, water, or dirt can enter the crack and make repair harder. If the bridge is leaning, avoid bumping it. A violin bridge is held in place by string tension, not glue, so side pressure can shift or drop it.
A quick check takes less than a minute and is part of good violin maintenance, not a separate repair task.
Clean your violin safely in 10 steps
1. Wash and dry your hands
Start with clean, dry hands. Skin oils, sunscreen, hand cream, and food residue can transfer to the varnish, strings, and fingerboard.
In humid climates, sweat can also build up around the chin rest, shoulder contact area, and upper bout. Sweat contains salts, and salts can dull metal parts and irritate varnish over time. Washing your hands before playing and cleaning reduces the amount that reaches the instrument.
2. Place the violin on a soft, stable surface
Lay the violin on its back or hold it securely by the neck and lower bout. Do not place pressure on the bridge, tailpiece, or f-holes.
If the violin has a shoulder rest attached, remove it first. Shoulder rests can trap dust and sweat against the back of the instrument. They can also make the violin unstable on a flat surface.
Keep food, drinks, rosin, and cleaning liquids away from the table. Spills cause more damage than dust.
3. Wipe the strings after every playing session
Use a dry microfibre cloth to wipe each string from the fingerboard area towards the bridge. Hold the cloth around the string and move gently. Do not press the string sideways.
Rosin dust collects most heavily between the bridge and fingerboard. If left there, it can harden into a pale crust and affect the sound. Players often notice a gritty feel under the bow or a harsher tone when rosin has built up.
Use a separate cloth for the strings because string residue can contain rosin, sweat, and fine metal particles. You do not want to rub that mixture into the varnish.
A faint grey or black mark on the cloth is normal, especially from metal-wound strings.
4. Dust the varnished body with a clean dry cloth
Use your second cloth for the violin body. Wipe lightly across the top, back, ribs, and scroll. Let the cloth do the work. Heavy pressure can drag grit across the varnish and leave fine scratches.
Pay attention to the area below the strings, between the bridge and fingerboard. This is where rosin dust falls every time the bow touches the strings.
Move slowly around the bridge feet. The bridge is not glued. Avoid catching the cloth on the bridge corners, fine tuners, or tailpiece.
This is the core of safe violin cleaning: remove dust before it bonds to the finish, without adding moisture or chemicals.
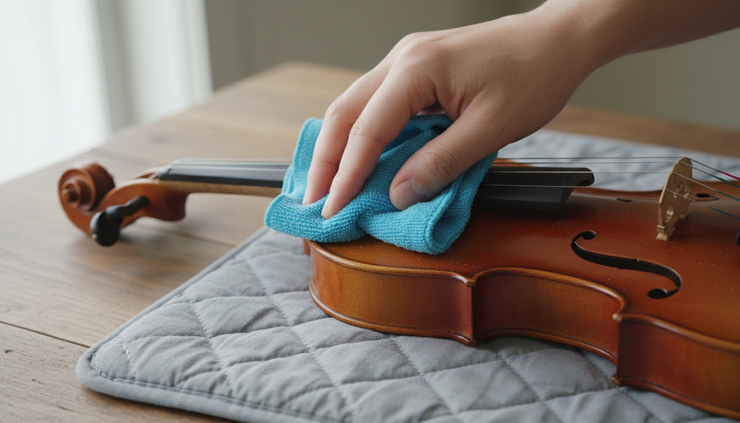
5. Brush dust away from the bridge and f-holes
Use a soft, dry brush to sweep dust away from tight areas. Brush outward from the bridge, tailpiece, and edges of the fingerboard.
Do not poke inside the f-holes. Dust inside the violin is usually less urgent than damage caused by pushing objects into the body. The top plate of a violin is thin spruce, and the edges of the f-holes are delicate.
If something has fallen inside the violin, such as a loose fine tuner screw or broken string end, take it to a luthier. Shaking the instrument can damage the soundpost, which is the small wooden post inside the body that supports the top and affects tone.
6. Clean the fingerboard with a dry cloth
The fingerboard is usually ebony or another dense hardwood. It collects finger oils and dark residue from the strings.
Wipe along the length of the fingerboard with a dry cloth. For normal use, this is enough. Do not soak the fingerboard, and do not let water run towards the nut, neck joint, or violin top.
If the fingerboard feels sticky or has thick grime, stop at dry wiping. A luthier can clean it more thoroughly and may use materials that are safe for ebony but not safe for varnish. The risk at home is that liquid meant for the fingerboard slips onto the varnished neck or top.
7. Clean the chin rest with slight moisture only when needed
The chin rest touches skin more than any other part of the violin, so it can collect sweat, make-up, and sunscreen. Since it is usually made from ebony, rosewood, boxwood, or a composite material, it can handle a little more cleaning than the varnished body.
Use a cloth that is barely damp, not wet. Wipe the chin rest surface, then dry it immediately with another cloth.
Keep moisture away from:
The varnished top and ribs
The cork pads under the chin rest
The metal chin rest clamps
Any open seams near the lower bout
Do not remove the chin rest unless you know how to reinstall it correctly. Overtightening the clamps can damage the ribs. Undertightening can let the chin rest shift while playing.
8. Leave stubborn rosin on the varnish to a luthier
Old rosin can look like cloudy white patches, yellow-brown specks, or a dull film near the bridge. If it does not come off with a dry cloth, do not scrape it and do not reach for alcohol.
This is where many instruments get damaged. A cleaner that dissolves rosin may also dissolve or soften varnish. Museum conservation follows a useful principle here: begin with the least aggressive method and avoid solvents unless the surface has been tested. A violin repairer can judge the varnish type and choose a safer method.
A practical test is simple. If gentle dry wiping does not remove it after a few passes, stop. The cost of professional cleaning is usually far lower than varnish repair.
Keep the bow and case clean too
Violin care does not stop at the wooden body. The bow and case can put dirt straight back onto a clean instrument.
Wipe the bow stick with a dry cloth after playing, especially near the frog where rosin and hand oils collect. Do not touch the bow hair with fingers. Oils from skin stop the hair from gripping the string well.
Never clean bow hair with alcohol at home. Alcohol can travel into the wooden stick or frog and damage varnish, shellac, glue, or fittings. If bow hair is dirty or no longer holds rosin, the usual fix is a rehair.
Clean the case by removing loose rosin dust, broken string ends, and crumbs. A small handheld vacuum can help, but keep it away from the violin itself. Check that rosin is stored in a box or cloth pouch so it does not rub against the instrument.
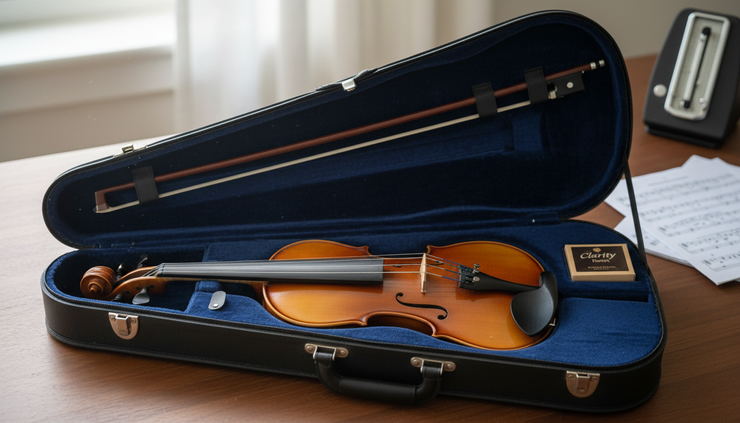
Follow a simple cleaning schedule
Routine matters more than intense cleaning. A violin that gets a 30-second wipe after each practice usually needs less professional cleaning later.
When | What to do | Why it helps |
After every practice | Wipe strings and rosin dust with a dry cloth | Prevents rosin from hardening |
Once a week | Dust the body, scroll, chin rest, and case | Removes build-up before it spreads |
Once a month | Check bridge angle, seams, pegs, and fine tuners | Spots small issues early |
Once or twice a year | Ask a luthier to inspect the instrument | Confirms the setup is safe and stable |
Students who practise daily may need to wipe strings more carefully than occasional players. Parents helping younger children can make cleaning part of pack-up time, just like loosening the bow hair.
Avoid the most common cleaning mistakes
The biggest mistakes usually come from treating a violin like furniture. It is not. A violin is a lightweight acoustic instrument made from thin spruce and maple, hide glue, fitted parts, and delicate varnish.
Avoid these habits:
Spraying cleaner directly onto the violin
Using alcohol wipes near the strings or body
Scrubbing rosin with a fingernail
Polishing the violin to make it shiny
Cleaning while the instrument sits on a hard table
Letting a damp cloth touch open seams
Using the same dirty cloth for strings and varnish
A shiny violin is not always a healthier violin. Some older instruments have a soft glow rather than a glossy surface. Over-polishing can wear varnish at the edges, corners, and contact points.
Know when to get professional help
Home cleaning should only handle surface dust, normal rosin, and light grime on fittings. Call a luthier if you see:
Rosin that has bonded to the varnish
Sticky or cloudy patches
Cracks, open seams, or buzzing sounds
A bridge that leans or warps
Pegs that slip or stick badly
A soundpost that has fallen
Mould, a musty smell, or signs of water damage
Humidity deserves special attention in Singapore and other tropical climates. High humidity can soften some glues, encourage mould in closed cases, and make pegs behave unpredictably. Keep the violin in its case when not in use, store it away from direct sun, and let the case air out if it feels damp. Silica gel packs can help inside a case, but they should not touch the instrument.
What a clean violin should look and feel like
A safely cleaned violin will not look brand new. It should look cared for.
The strings should feel smooth under the cloth, not gritty. The top should be free of loose rosin dust. The fingerboard should not feel sticky. The chin rest should feel clean against the skin. The varnish should look natural, with no wet shine, cloudy smears, or strong smell from cleaning products.
The best violin care tips are simple because the instrument rewards restraint. Use dry cloths, clean gently, avoid chemicals, and ask a luthier before tackling anything stubborn. That routine protects the finish, keeps the instrument pleasant to play, and helps small problems get noticed before they become expensive repairs.


Comments